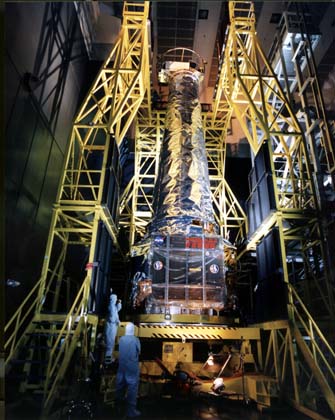
Chandra X-ray Telescope Project
Task: Students and teachers will access, discuss, and learn background information on the Chandra web site, about the design of the Chandra telescope and satellite. They will learn how the manufacture process took place at various locations around the United States. Each piece was integrated before being loaded into the cargo bay of the NASA Space Shuttle Columbia. Incorporated into the lesson on the actual Chandra assembly will be a review lesson on mathematical scale and ratios using scale diagrams and/or blueprints and their importance to the manufacturing process of highly specialized technical equipment. Finally, the teacher will review with the students the method of assessment for this activity which includes the rubric attached to this document. To accomplish this task, a classroom or other large area will be divided into three assembly station areas and one final integration station where all the separate parts will be put together to create a model of the Chandra satellite. [see diagram 1] At each station there will need to be at least one copy of a scaled set of "blueprints" complete with specifications and enough raw material for 2 completely finished satellite components. A time limit for the project should be set ahead of time to more closely resemble "real world" applications. The teacher should divide the group as evenly as possible into 3 smaller groups, one group for each assembly station. After a set time limit, all of the students will take their separate components to station 4 (final assembly) and fit them together. An assembly team leader could be chosen by each group to do the final assembly if there are too many students for the amount of space available to work.
Notes…- Blueprints, scale drawings and specification sheets are available as downloadable documents from the Chandra web site in PDF and HTML format.
- "Raw material" could be cardboard, aluminum foil, wrapping paper, and simple fasteners.


